Yes. It’s me in the picture. It was Halloween.
Creating and Android app has been in my task list a good while but now I decided to take the pivotal step. I set myself a time limit of one day. How long it finally took?
Summary - How long it took to develop an Android app and was it difficult?
Creating your first Android app is not overwhelmingly difficult and you can mange to get it done in an hour or a day depending on your skill level. Previous knowledge about information technology or programming is a definite plus. My personal coding background helped me to solve error messages and to understand the underlying logic of Android projects.
In a new environment even small adversities can make you to give up. If you really want to learn be prepared to get some error messages and remember to use Google. The folder structure and code organizing are mage as logical as possible for a complex software environment.
Android Studio really has lots and lots of features so my advice is to just focus the important and forget about 95% of the functionalities. We have to keep in mind that it takes months and years of practise to master something like Android. To get started the best learning method is to copy scripts of others and then customize it to your own needs - in my opinion
As the conclusion I can say that developing with Android is intensive effort - I’m not sure whether I’ll continue the “hobby”. From zero to the first clumsy feature it took me around three hours.
The technical part - Developing the first Android app
The starting point
I had Android Studio already in my Windows 10 PC because of my previous initiatives to start developing. I recall that that one hazzle with the developing studio was to install the correct version of Java. I googled for Android tutorials and ended up to the official tutorial for Android in here here . I had zero experience about mobile apps, Java and xml markup so there was no guarantee to make the app work.
I opened the Android developer studio and almost wiped out. I didn’t remember how insane amount of different windows, menus and buttons there was. At this point I took a timeout and a deep breath. As my goal was only a small test app I didn’t want to quit here. One button that sends me an email would be enough.
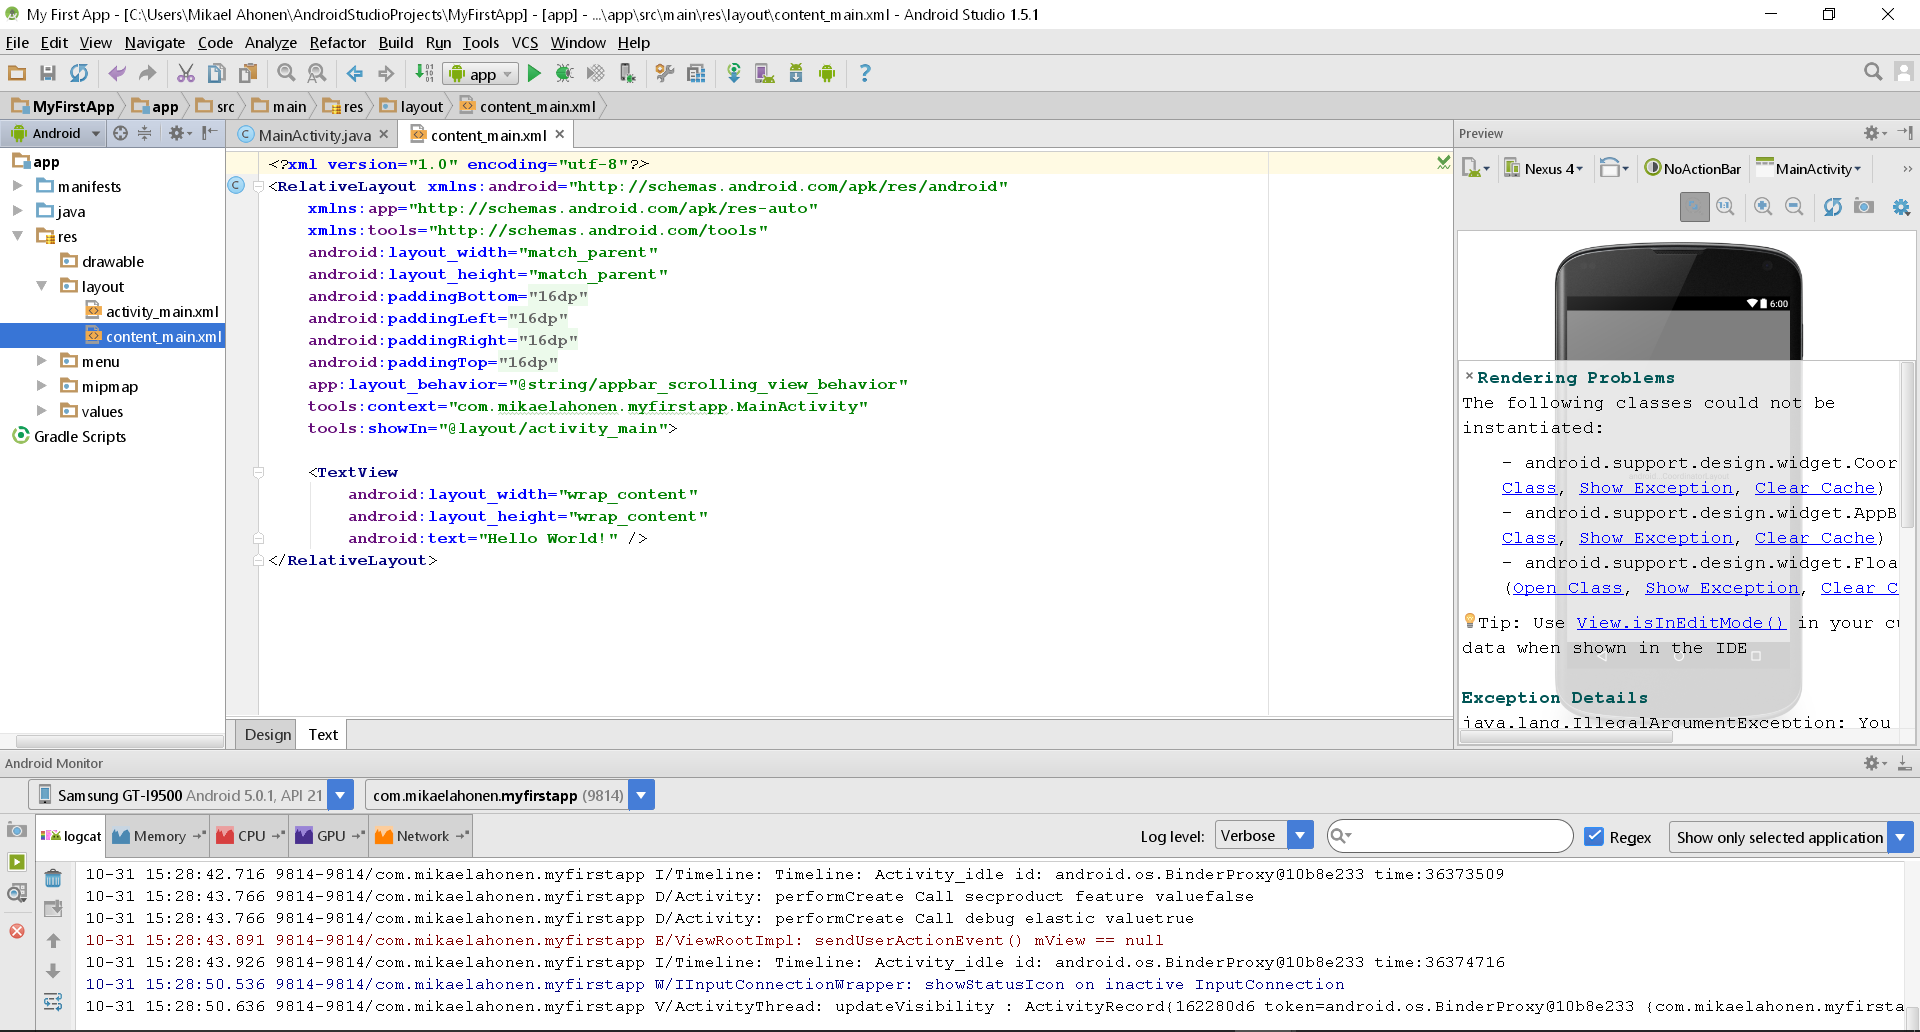
An example app for Android
Link to tutorial.
I started to paddle through the official Android tutorial. The first part of the guide was to make a new blank project with default setttings. It was very easy. Even though later some of the instructions were quite ambiguous like: Select Android view from the menu on top.
First run
Link to tutorial.
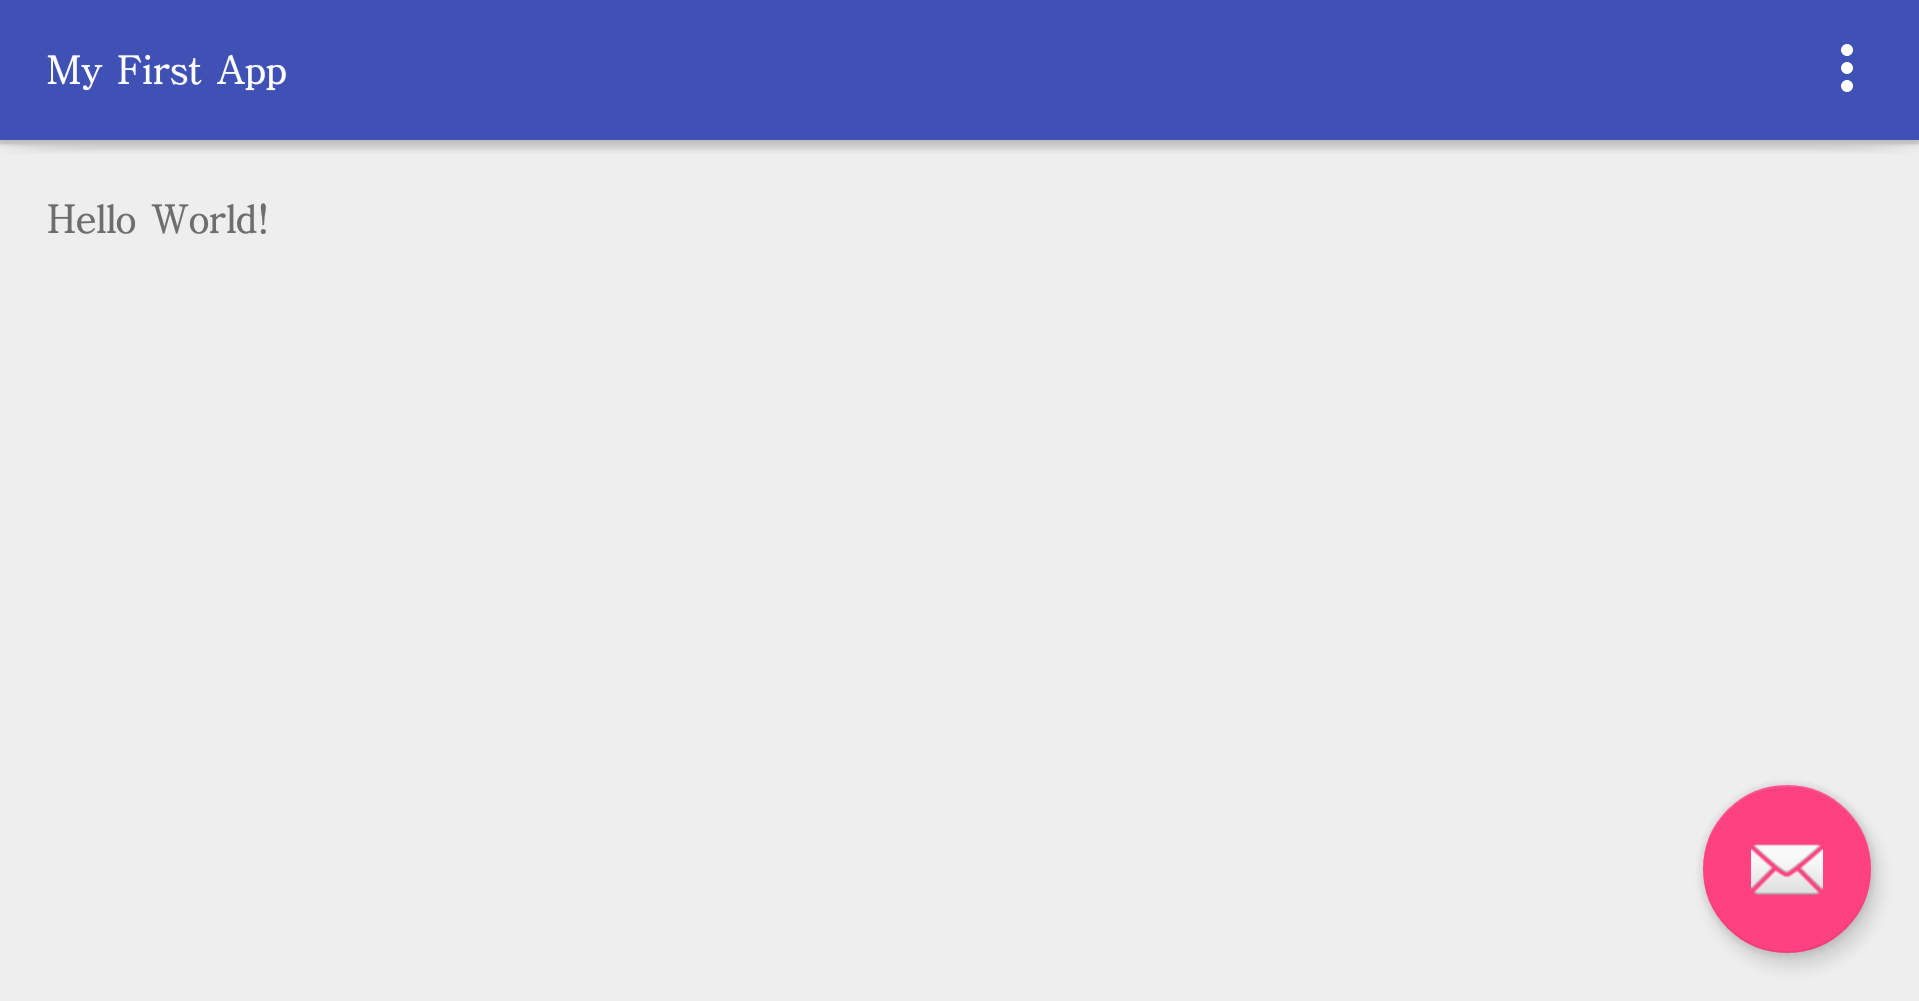
The developer studio created a project automatically and it was the testing time. I plugged my Samsung Galaxy S4 mobile phone to my PC by a USB cable according to instructions. The app can be debugged aslo in a virtual phone in the Android studio but a real Android device would be easier option.
After a little delay the test app popped up in my phone. To get this fat it took only around 15 minutes - I was surprised how easy it had been so far.
Setting up the user interface
Link to tutorial.
Even though I’m a newbie with Android technologies the xml markup didn’t shake this digi warrior marinated in many html sauces. I proceeded according to the tutorial.
I noticed that whenever I modify the xml file I can see the results in right pane preview in real time. Very useful! I created the button that the tutorial insisted but the test run failed. The first error!
Error: No resource found that matches the given name (at 'title' with value '@string/action_settings').
The error message didn’t help a beginner at all. After a quick google search I found out that I had intentionally removed this line from res > values > strings.xml file:
<string name="action_settings">Settings</string>
The line wasn’t in the tutorial at all. Ugh!
The second attempt aroused another error:
error: cannot find symbol variable toolbar
This time it took more time to find a solution and without any knowledge about programming I would have gave up. The question was about a variable in the file java > com.mydomain.myfirstapp > MainActivity. The app tried to initialize variable toolbar even thought it hadn’t been defined anywhere in the code.
The error messages was resolved by commenting out some of the code like in the picture below:
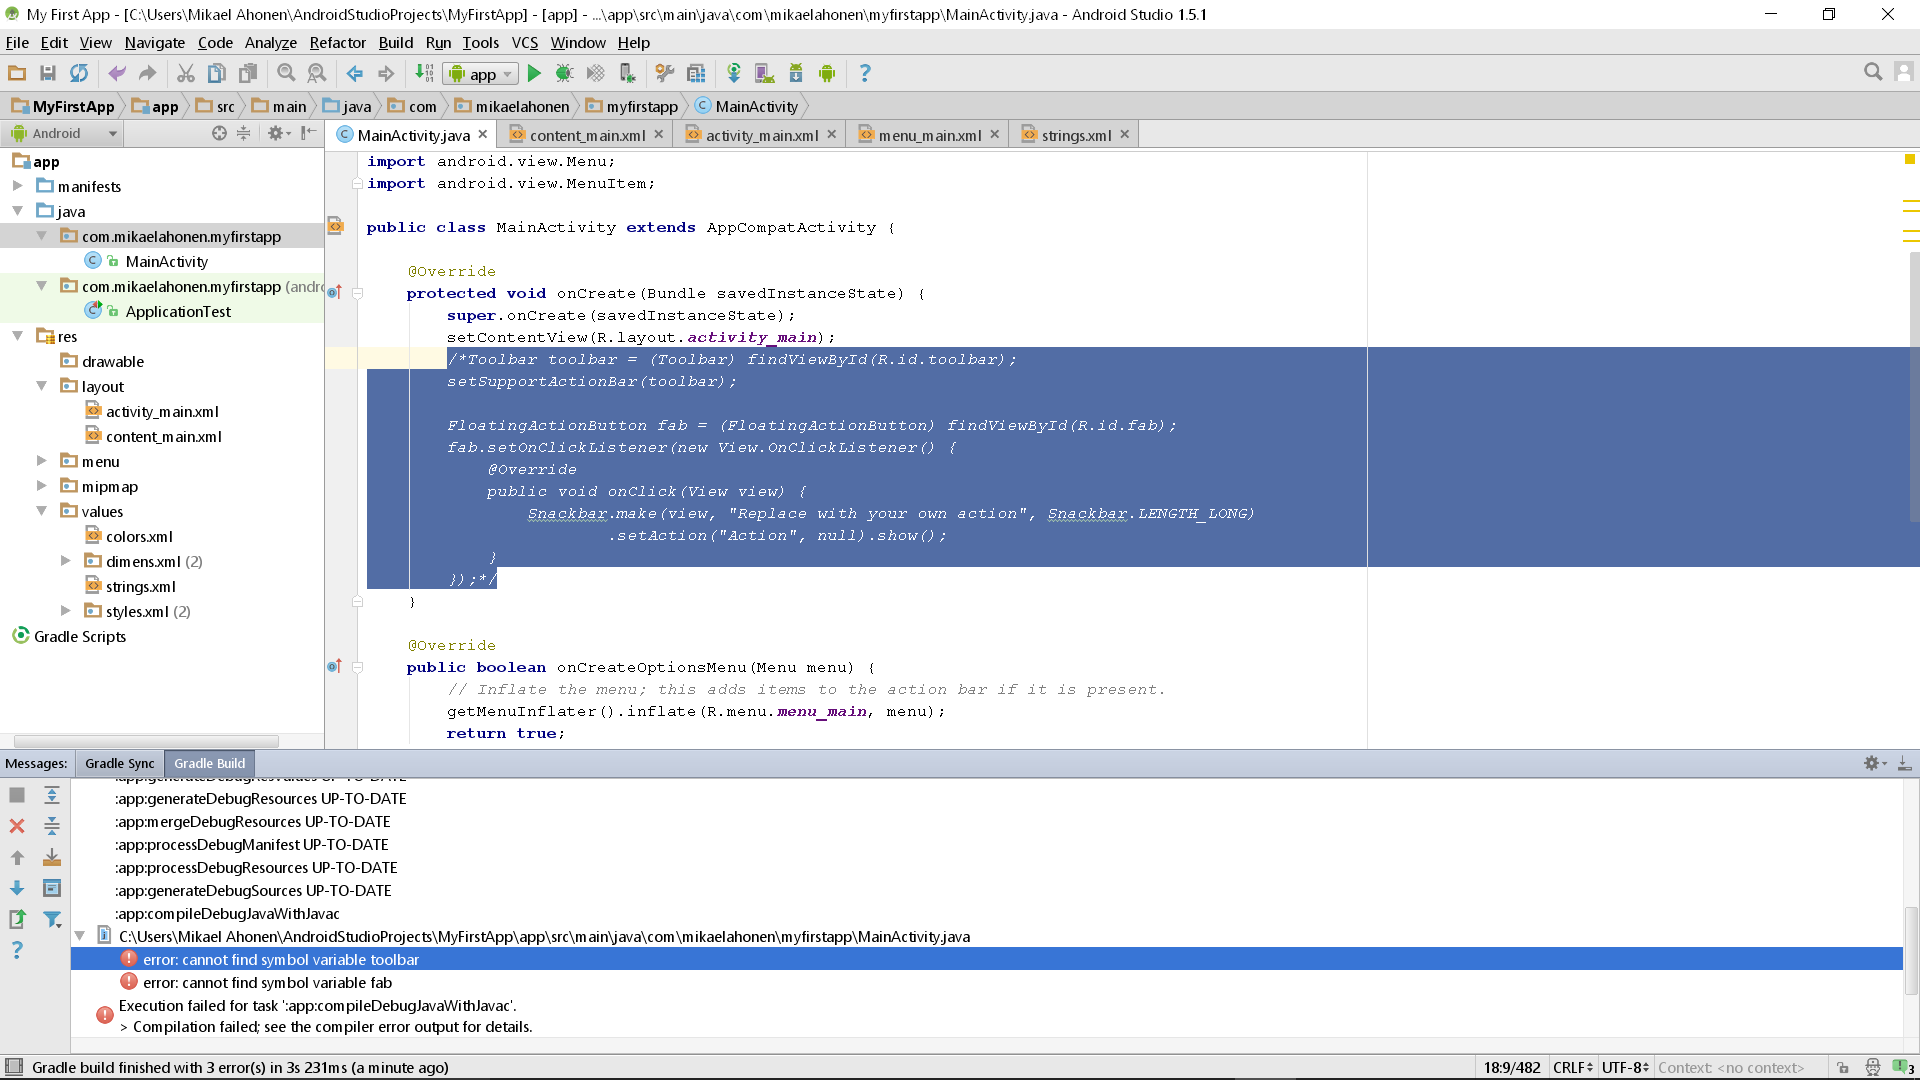
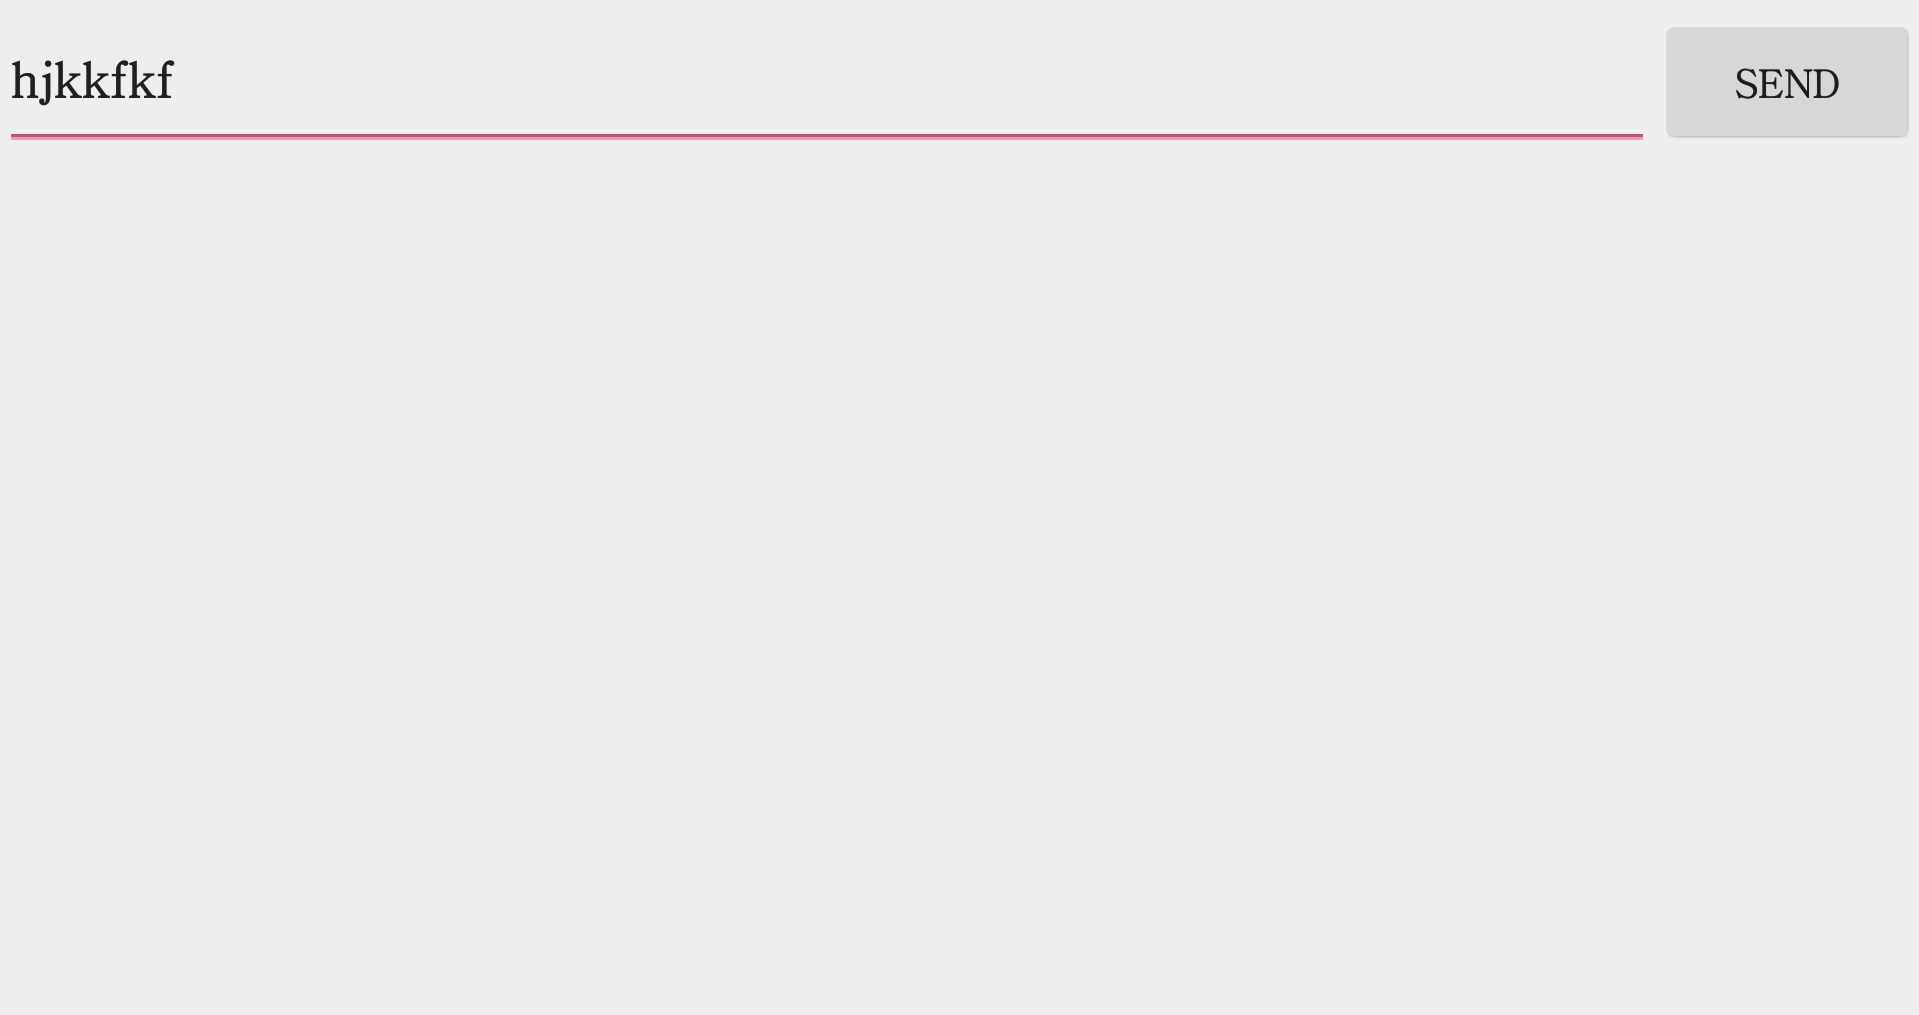
The problem will also go away by itself if you just wait until the next part of the tutorial where the MainActivity file will be modified. After the modification the app opened in my phone:
Linking an activity to a button
Link to tutorial.
Linking an activity to a button wasn’t as simple as defining the UI. Even though I understand programming classes, functions and variables I hadn’t a clue about Android classes.
By the experience I knew that now I should just do whatever the tutorial says. Otherwise I would be lost. At the beginning it’s easier to just code that other people have made. So my weapon was the allmighty copy + paste.
There occured massive amount of errors while debugging. The reason was simple though: I had pasted the code outside the function. I also had forgot to define the variable EXTRA_MESSAGE and had missed a footnote about
android:id variable
.
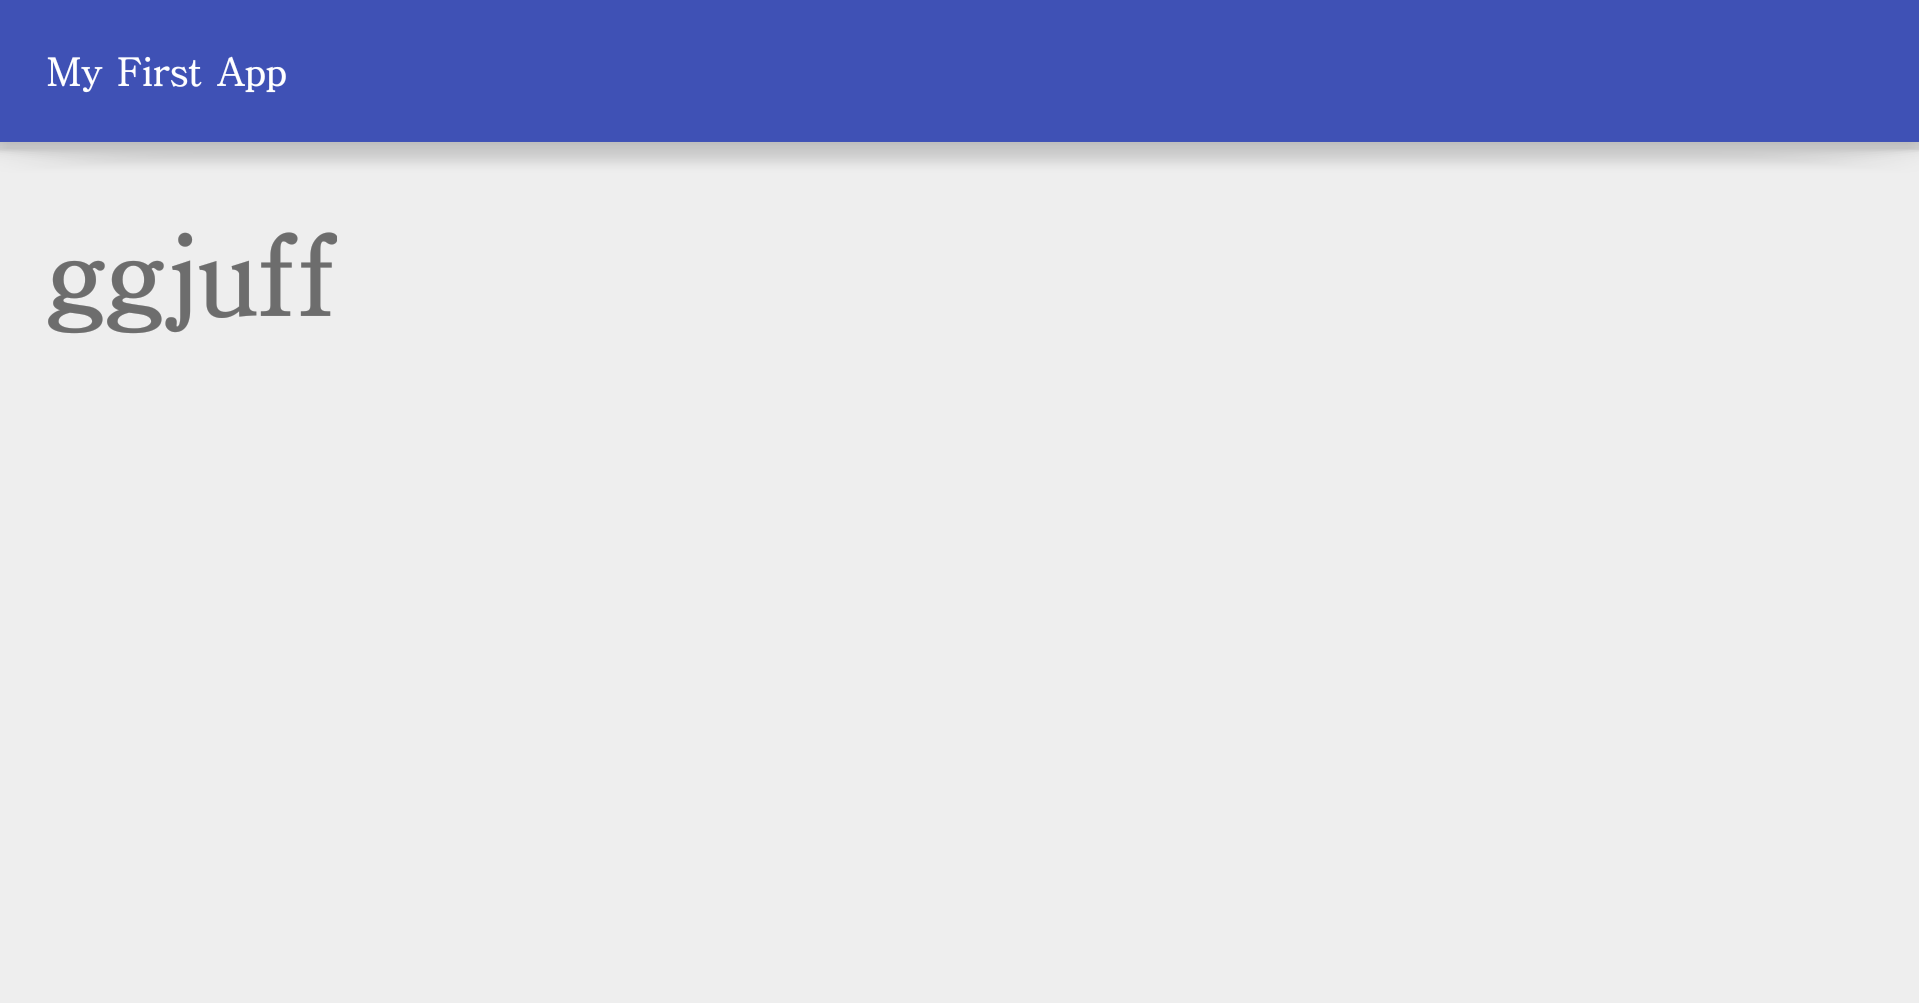
I repaired my mistakes and the app worked again. Now when I clicked the button the text in the textbox appeared bigger in a new view.
Developing a custom functionality
Finally it was time to dive to a deep end. The example app had supported well my goal to make an app that sends email.
I started to investigate possible methods but it wasn’t a walk in the park. I didn’t know where to start. This was a critical point: whether to give up or not? I decided to continue and the way to go was to replicate the steps for previous acticity.
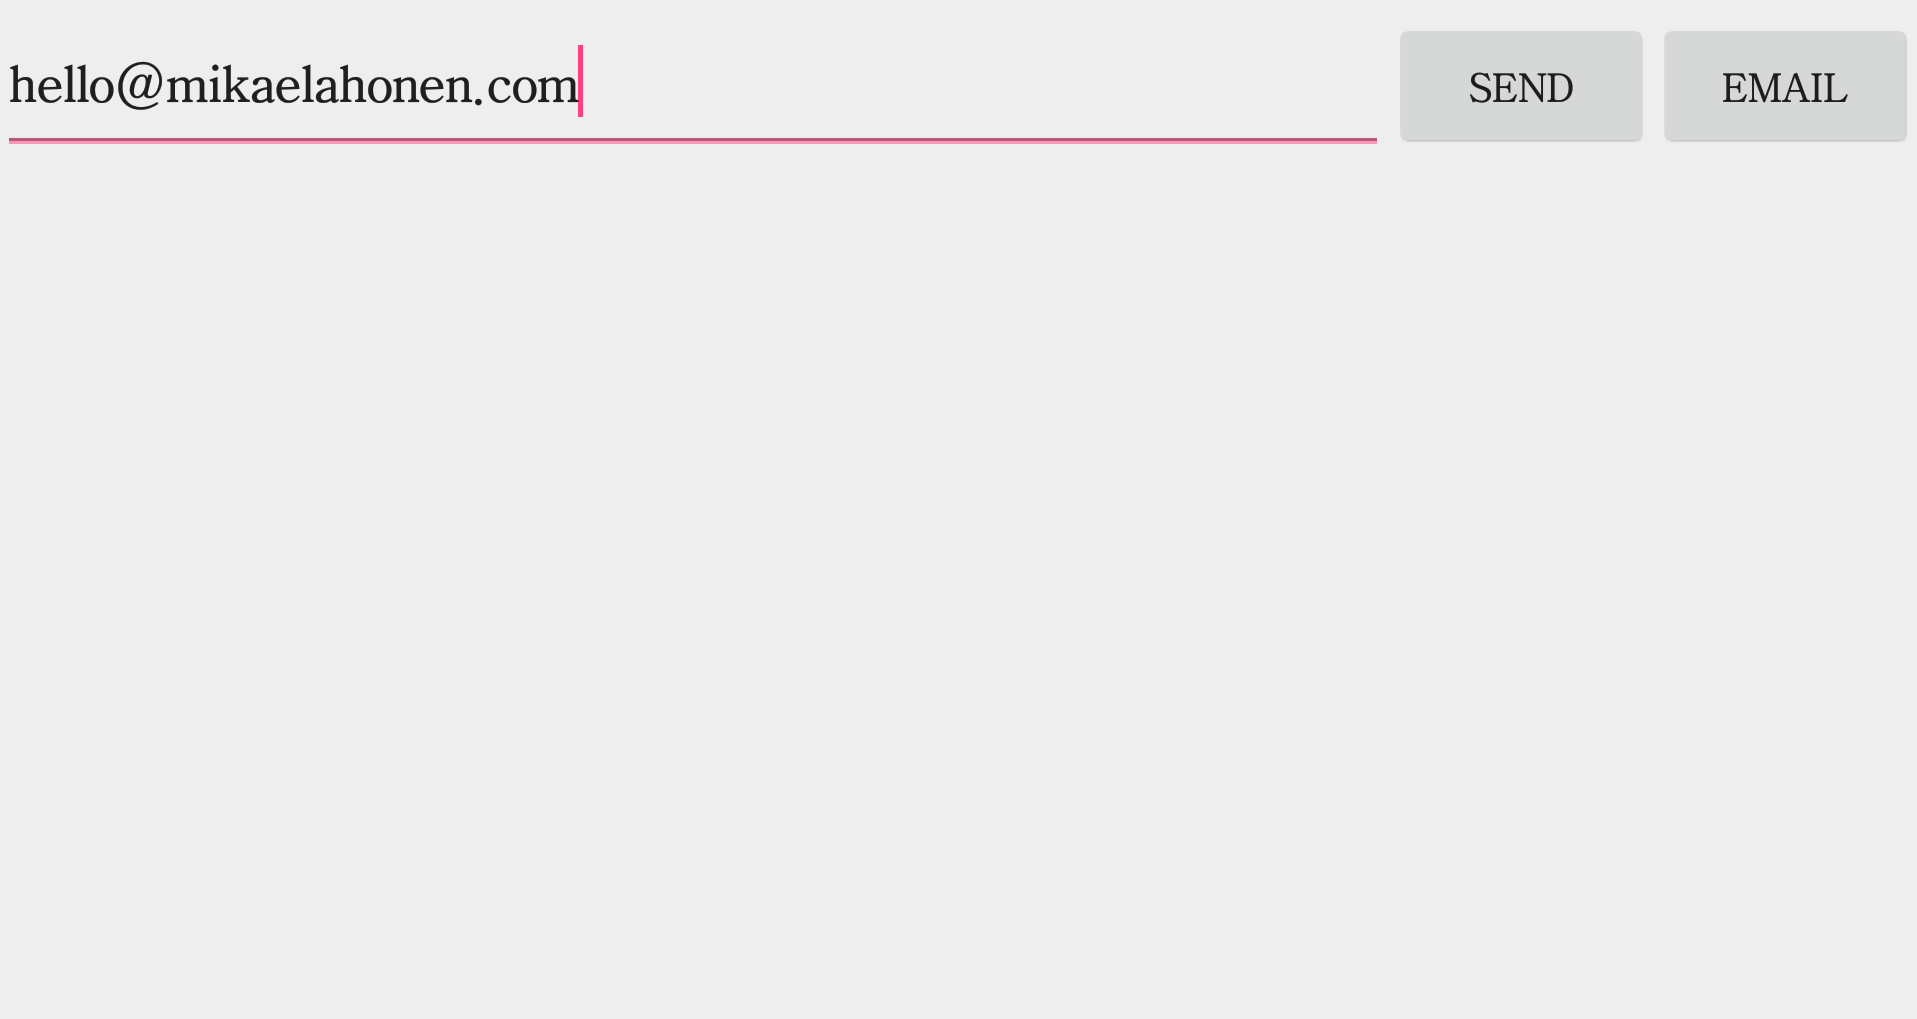
I created a new button called Email. I modified the duplicate sendMessage function to sendEmail function in the MainActivity file. I wrote a code that was almost totally copied from here :
public void sendEmail(View view) {

    //Get message
    EditText editText = (EditText) findViewById(R.id.edit_message);
    String message = editText.getText().toString();

    //Open email app
    Intent i = new Intent(Intent.ACTION_SEND);
    i.setType("message/rfc822");
    i.putExtra(Intent.EXTRA_EMAIL  , new String[]{message});
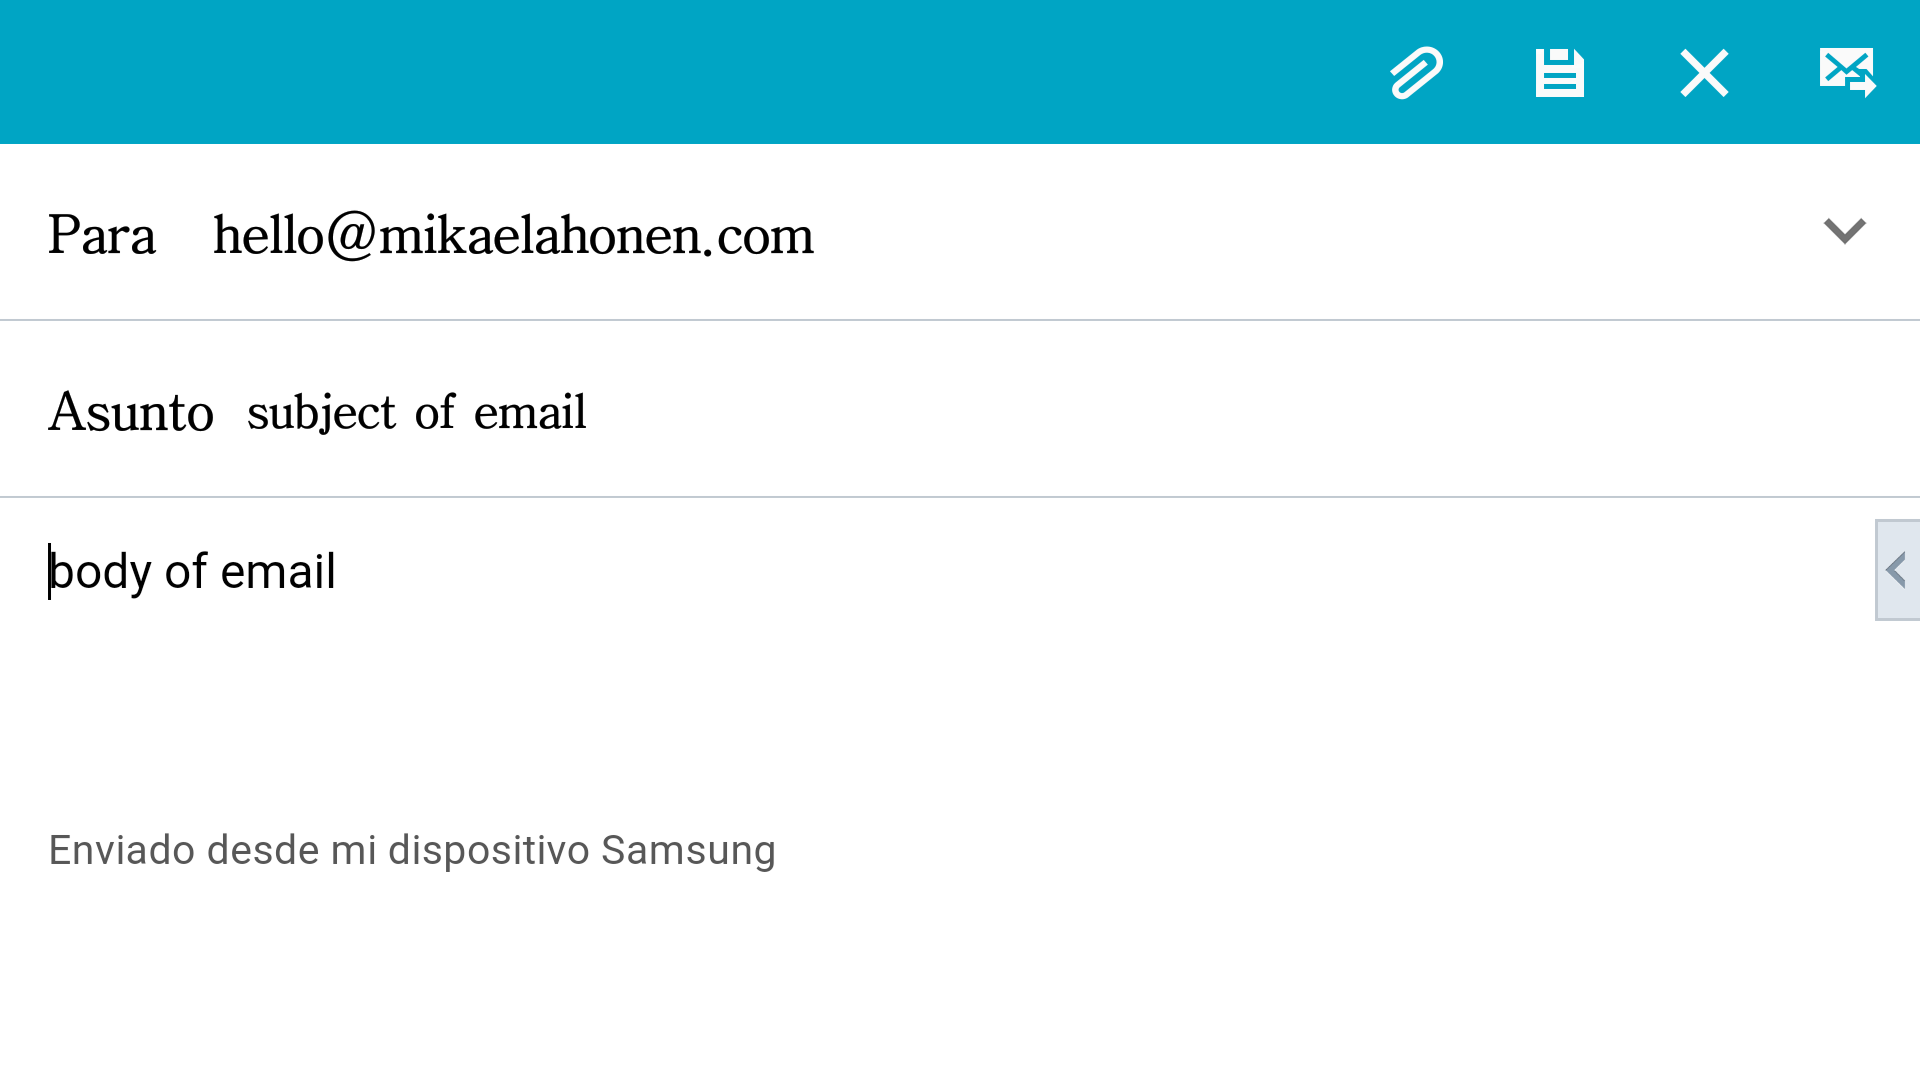
    i.putExtra(Intent.EXTRA_SUBJECT, "subject of email");
    i.putExtra(Intent.EXTRA_TEXT, "body of email");
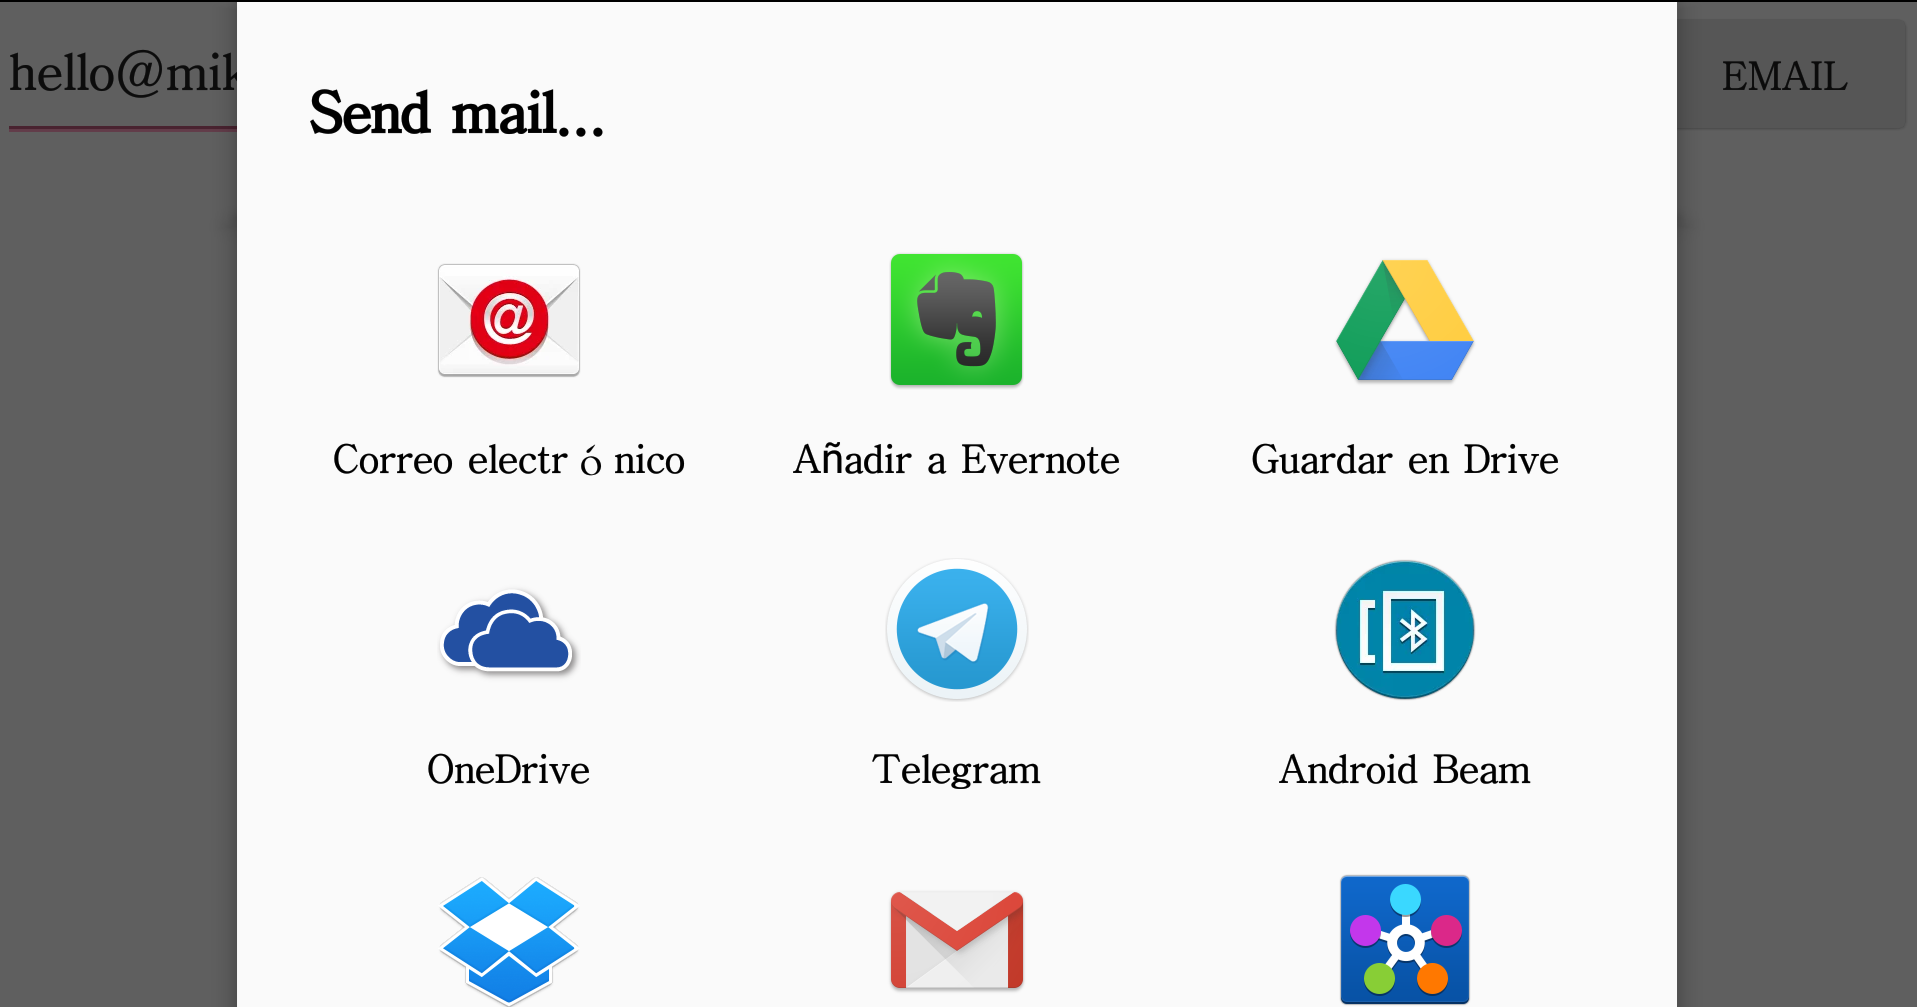
    startActivity(Intent.createChooser(i, "Send mail..."));
}
The xml UI file was needless in this case as instead of a view the app now opened a built-in Android menu. From the menu I could click my favourite email app. This wasn’t exactly what my intentions were at the beginning but close enough for my very first Android app.



Write a new comment
The name will be visible. Email will not be published. More about privacy.